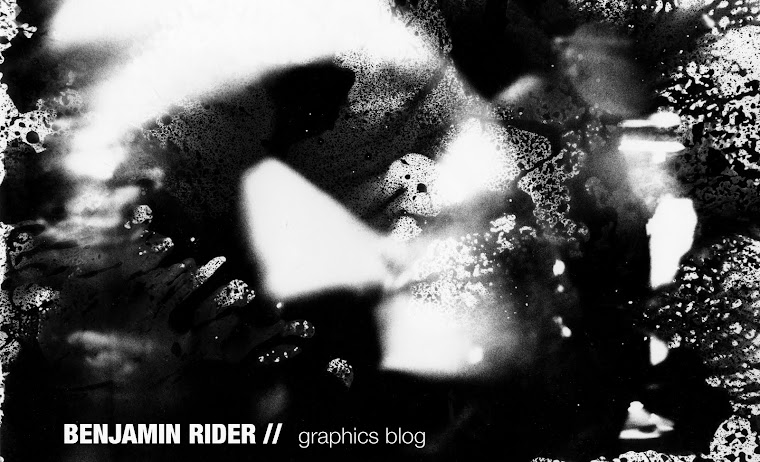


Examples of my explorative work on the day. These ones with the white streaks where a happy accident...i dabbed the pallet knife into the white and dripped it accross the stone over the blue and rolled it just once so the streaks would come out on the background print.then when i printed on top this mad thing happened! the black ink is apparently translucent so the white completely repelled it.and some stuck to the actual lino, so i made another print [above] and still got an interesting result


The below is printed using the press.The aboce i did by hand, i deliberately used light pressure on the edges. excellent this can be done at home


 Lino cut is an excellent process.im gutted ive waited until now to explore it. the biggest appeal to this is that it can all be done AT HOME!!definately trying this at home.
 PROCESS:
biggest thing i found out is your working from LIGHT to DARK. in other words think of it as if drawing white on black. as if drawing the light. the utter opposite of drawing with a pencil or pen. so if i wer to do a life drawing using this method, id only draw where the light lands [at first]
also the image you make prints out in reverse
REDUCTION PRINTING-firstly i found the best thing to do before launching into cutting was to print off a stack of backgrounds using the clean flat face of the lino. I got well into this and could of spent weeks just doing that-such an endless amount of possibilities and varieties. i used the straight lines from the roller to create compositions, to leave parts lighter than others, allsorts of things not just flat colour, altho thats still completely viable as it gets worked on top on.
also it veyr important at this stage to work with LIGHT COLOURS, as youll be prininng on top you'll fuck it if you start with darks, but if u really want to, add a medium to make it alot more translucent. i did that with a dark red.nbu mostly stuck with light yellows, blues and greens.
we used japanese vinyl, which is a squidge more expensive ut still relatively cheap. later i got a square about the size of an a4[bit wider] for about £2
-but using the same process you can use any old wood you find [or lino-whack it in th oven for a bit to soften it so its easier to cut] THIS IS BRILLIANT!-proper lo tech easy cheap excellent results AND YOU CAN DO IT AT HOME! and the joy of using wood [which ill experiment with] is THE GRAIN OF THE WOOD COMES THRU IN THE PRINT!!!!!!!!!!!!!!!!!!learning that opened a whole new door into new possibilities
if using wood, cut ALONG THE GRAIN of the wood.smoother cuts and easier
and remember to cut away with you, with your spare hand behind.its not easy as were all used to working with our hand beside holding the piece.but saves getting injured too much
-this is a wonderful excellent process i thoroughly love working with them oil based inks and pretty much all printing processes. i am definately gna invest in a mini kit to play with at home.
heres what you need [thanks to tessa's DIY shopping list:] ......
1. SET OF LINO CUTTERS [JUST ONE WITH RED HANDLE, AND BOX OF DIFFERENT SIZED TIPS BEST N CHEAPES FOR THIS]
2. WOOD/ VINYL / LINO / KITCHEN LINO
3. OIL BASED INK [IF POSSIBLE]
4.ROLLER/S
5. WHITE SPIRIT / OLD CLOTHES FOR CLEANING
6. SLAB OF GLASS [6MM OR THICKER] OR OTHER SMOOTH MATERIAL
7. 'BARREN' OR WOODEN SPOON BACK / BACK OF HAND / ROLLING PIN [TO PUT PRESSURE ON TO PRINT THE FUCKER]
enjoy!!its lots of fun!and messy!

Nice work Benjamin.
ReplyDelete