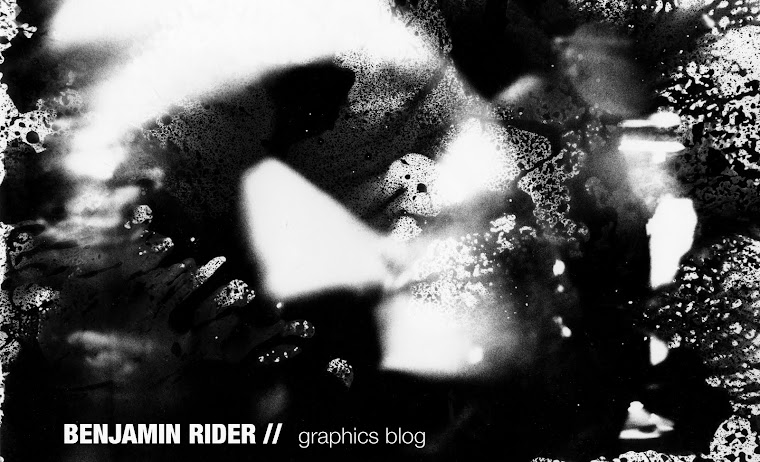
basicly i went a bit insane recently setting up a d.i.y. darkroom at home and going mad with the development techniques
graham in photography showed me before LCC closed the classic old school darkroom process
you basicly expose photographic paper to the light source [and negative stuck infront of source]
and then submerge the paper in:
- developer [1 part stock and 3 parts water]
- stopper
- fixer [1 part fixer 4 parts water]
in that order.
but as this is litrally proper hands on you can proper manipulate it-
and instead of dipping in the developer -SPLASH IT ON/DRIP IT SPRAY IT GO MAD!
when i get access to a scanner ill upload a few of my best results
most of the day was setting up so i really just want to show what joys can be found in lofts and what can still be got out of what appears to be a rusty half arsed attempt at a home dark room.
im lucky as my dad used to be [and stil is] as obsessed with photography as i am-and proper back in the day before when digital photography was still science fiction.
id say the diffference between us is that hes a photography doing photography
wheras id se myself amore of some kind of child in a sweet shop where all the sweets are some mad chemicals that make mad reactions pissing about and seeing what fascinating things things i can achieve
im not holding myself back by any rules of photography and what it should be

Look how old this lot is!!-still priced in French Francs!brilliant!

the essentials-an enlarger and a home-made timer
the beuty of simplicity is that with the enlarger which can only really develop about a4 size, you just twist it back to front to it projects ON TO THE FLOOR then youve instantly increased the potential size about 3 times!

safety light.
proffessional.
[red paper infront of lamp]

the gubbins!

this developing solution came as a powder
pretty simple to sort out, mix it with warm water and you get 5 liters of 'stock' developer
then for every liter you then mix it with a further 5 liters

negatives are always useful when ur in the darkroom

was quite simple to put together the chemicals, id say the only thing worth considering and taking time on is the safety aspect
be wise not to drink the fucking thing etc

instructions.
-instructful

quite chuffed my bog-stan camera phone captured the negative being transmitted to the surface here! bit naughty as THE MOST IMPORTANT THING FOR ANY DARK ROOM IS FOR THERE TO BE NO LIGHT LEAKS!!

and the first results!!
this is a standard enlarger i used, quite litrally a fancy lightnulb infront of a negative so i couldnt manipulate the contrast and its difficult to set up the focus. bearing that in mind-and the fact the photography paper i was using was almost as old as i was-i got some very excellent results....

as you see same image developed differently, i dripped it splashed it sprayed it brushed it. its beutiful becuse everyday objects turn into wicked image making tools
-i used a rough old decorating brush, an ironing spray mister and an old syringe, and even with just those you can do quite a few different mark making gestures with each


good example of the difference in good photo paper
-that greyer one on the right is the old one i dug out the loft
[the one priced in french francs-at least from 1998 or whenevr it changed to euro]
that deliciously defined one was some nice glossy paper-silverprints own brand i think
and omg it really looks lovely and the reactions are far more crisp and detailed
ive done hundreds already
n did a good bunch at school before we had to go.
im not sure if i want to make a post about how to do it as ive pretty much outlined it, if you've ever put brush to paper then you cna do it.instead of ink its a chemical
and just the most insane and fascinating thing
its litrally like painting, say you have a brush [or ANYTHING that can make a mark] and make any kind of gesture, lets just say a standard brushed circle
and where the circle is -THERES A PHOTO!!!!THERES A PICTURE!!!!
its litraly the kind of thing that shouldnt be real.

No comments:
Post a Comment